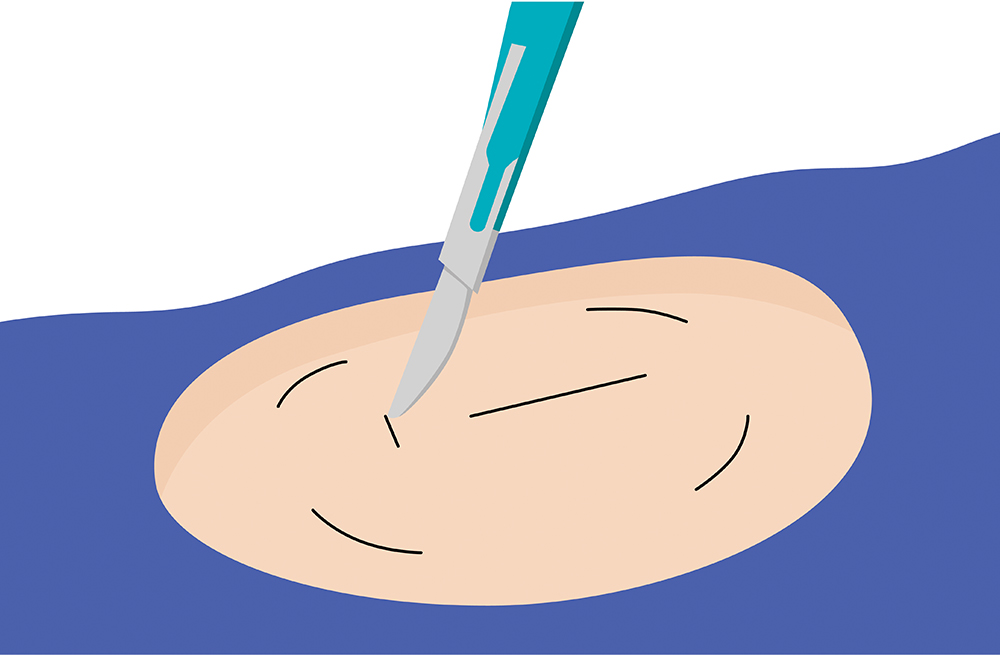
~5 mm incision in upper arm under local anesthesia
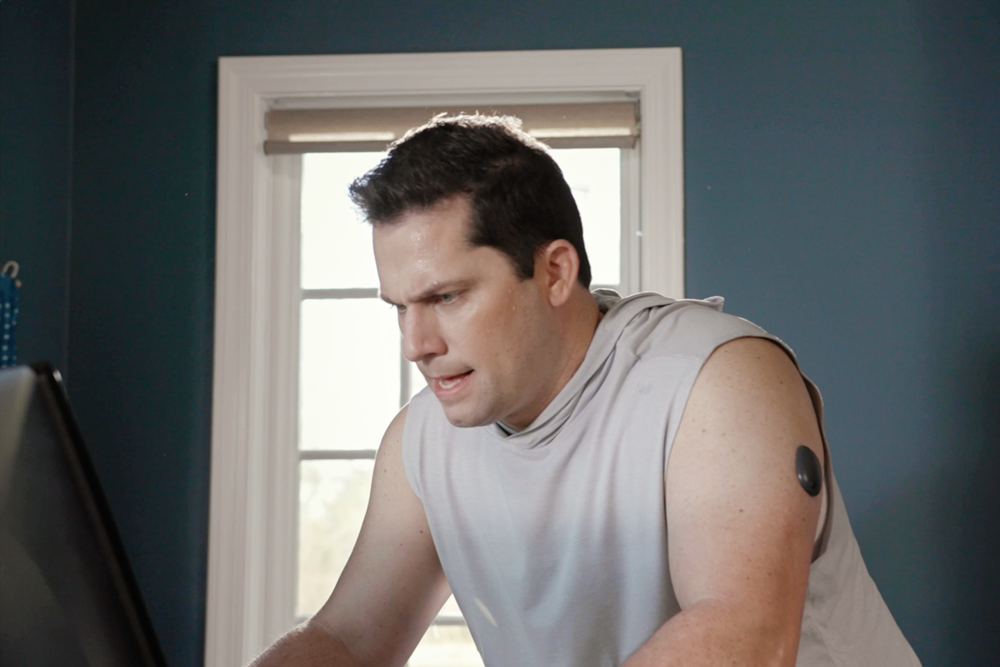
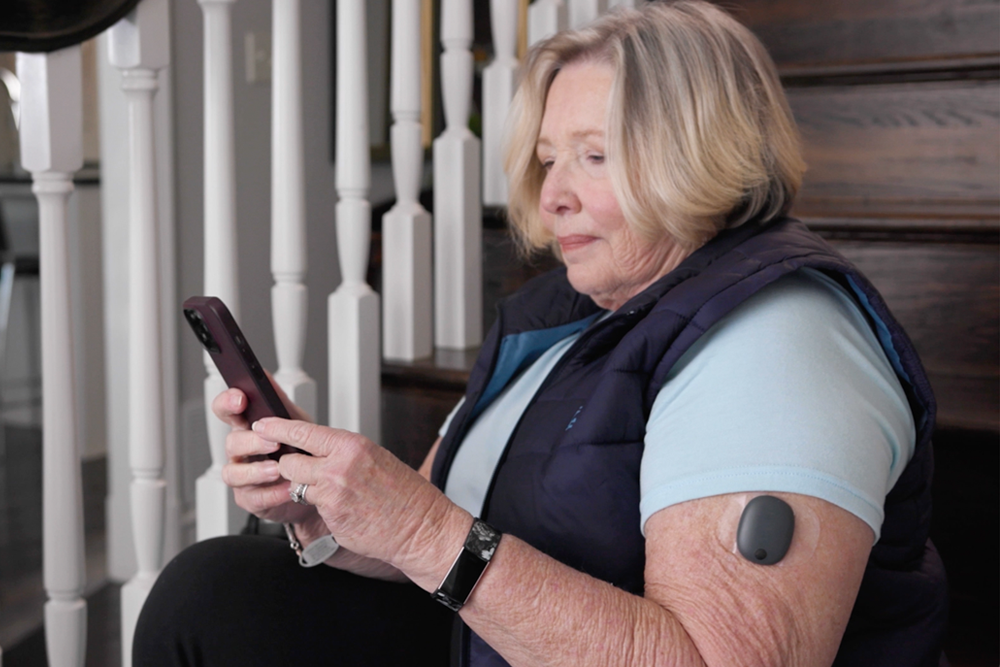
How’s The Sensor Insertion?
Hear from those who have experienced it. They describe it as quick, painless, and with no irritation.
PLAY VIDEOHear More About Their Stories Getting To Eversense

Mary’s Story
“During my insertion you do get numbing medication and it’s like an extended pinch, but after that you don’t feel anything.”

Chris’s Story
“It was a quick process. In and out in a few minutes, and I was good to go.”
Dianne’s Story
“Usually when it comes off, four or five days later, it's completely healed.”

Paul’s Story
“I've never felt a thing and I've had 11 sensors so I've never felt any of those insertion processes.”
Here's What You Can Expect
We understand getting any type of procedure can be stressful. That's why we make the insertion and removal process as simple, pain-free and safe as possible. It usually takes just a few minutes.

- Two brief office visits per year to insert and remove the sensor in just several minutes
- Insertion and removal process normally takes a few minutes each
- Most insertions and removals heal within a few days
Watch Dr. E’s Eversense E3 CGM Insertion
Check out Dr. Edelman getting the E3 CGM sensor inserted in real time. You will see how simple the insertion process can be. Dr. E & Dr. P share all the unique features of E3 including: 6-month sensor, removable smart transmitter, on-body vibe alerts and accuracy. Stay tuned for a detailed update on Dr. E’s experience with the E3.
Two Simple In-Office Procedures. Up To 6 Months Of Continuous Glucose Monitoring.
Sensor Insertion

Step One
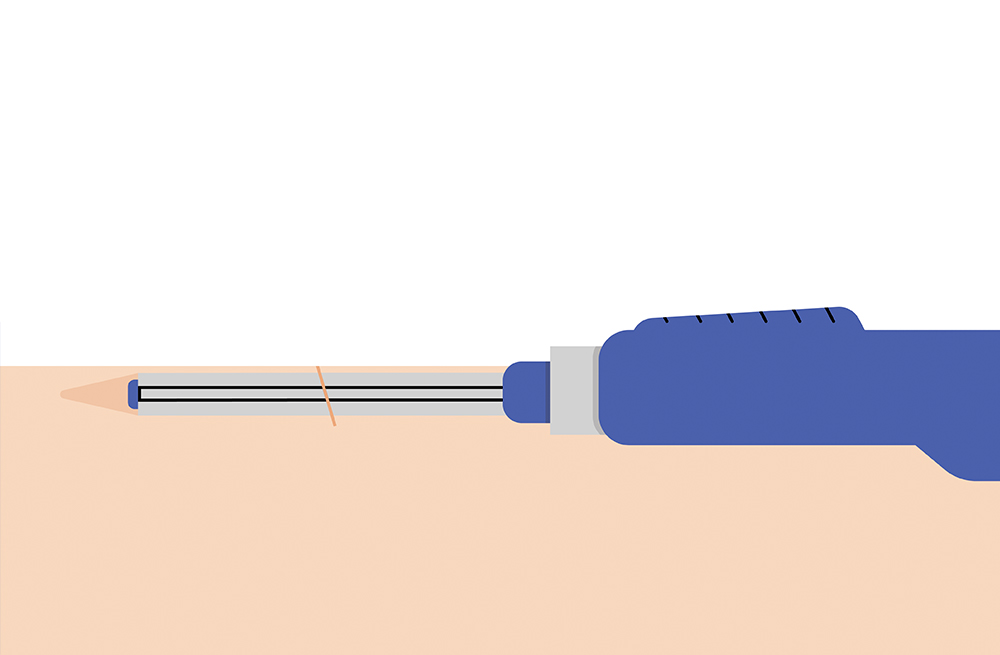
Step Two
Sensor inserted with custom inserter
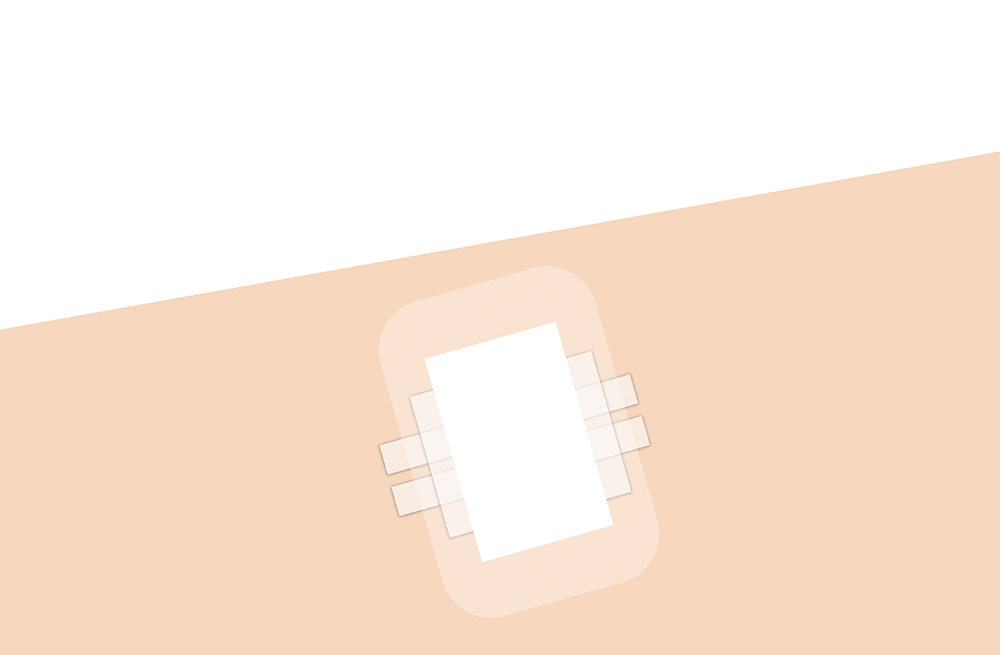
Step Three
Steri-strips™ to close
Sensor Removal
Step One
5-6 mm incision in upper arm under local anesthetic
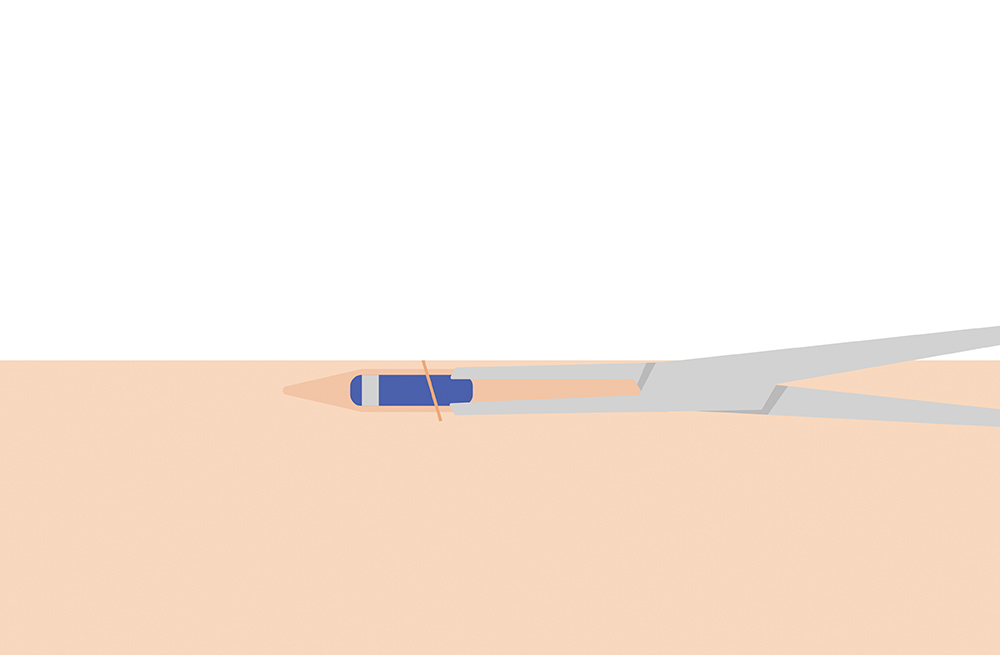
Step Two
Sensor removed with clamp

Step Three
Steri-strips® to close
*Up to 6 months
**The opinions expressed belong solely to the individual. This information provides general information only. It is not intended to be used as medical advice, diagnosis or treatment and should not replace the advice of a Health Care Provider.
1. Barnard et al. Acceptability of Implantable Continuous Glucose Monitoring Sensor. Journal of Diabetes Science and Technology 2018, Vol. 12(3) 634–638.
